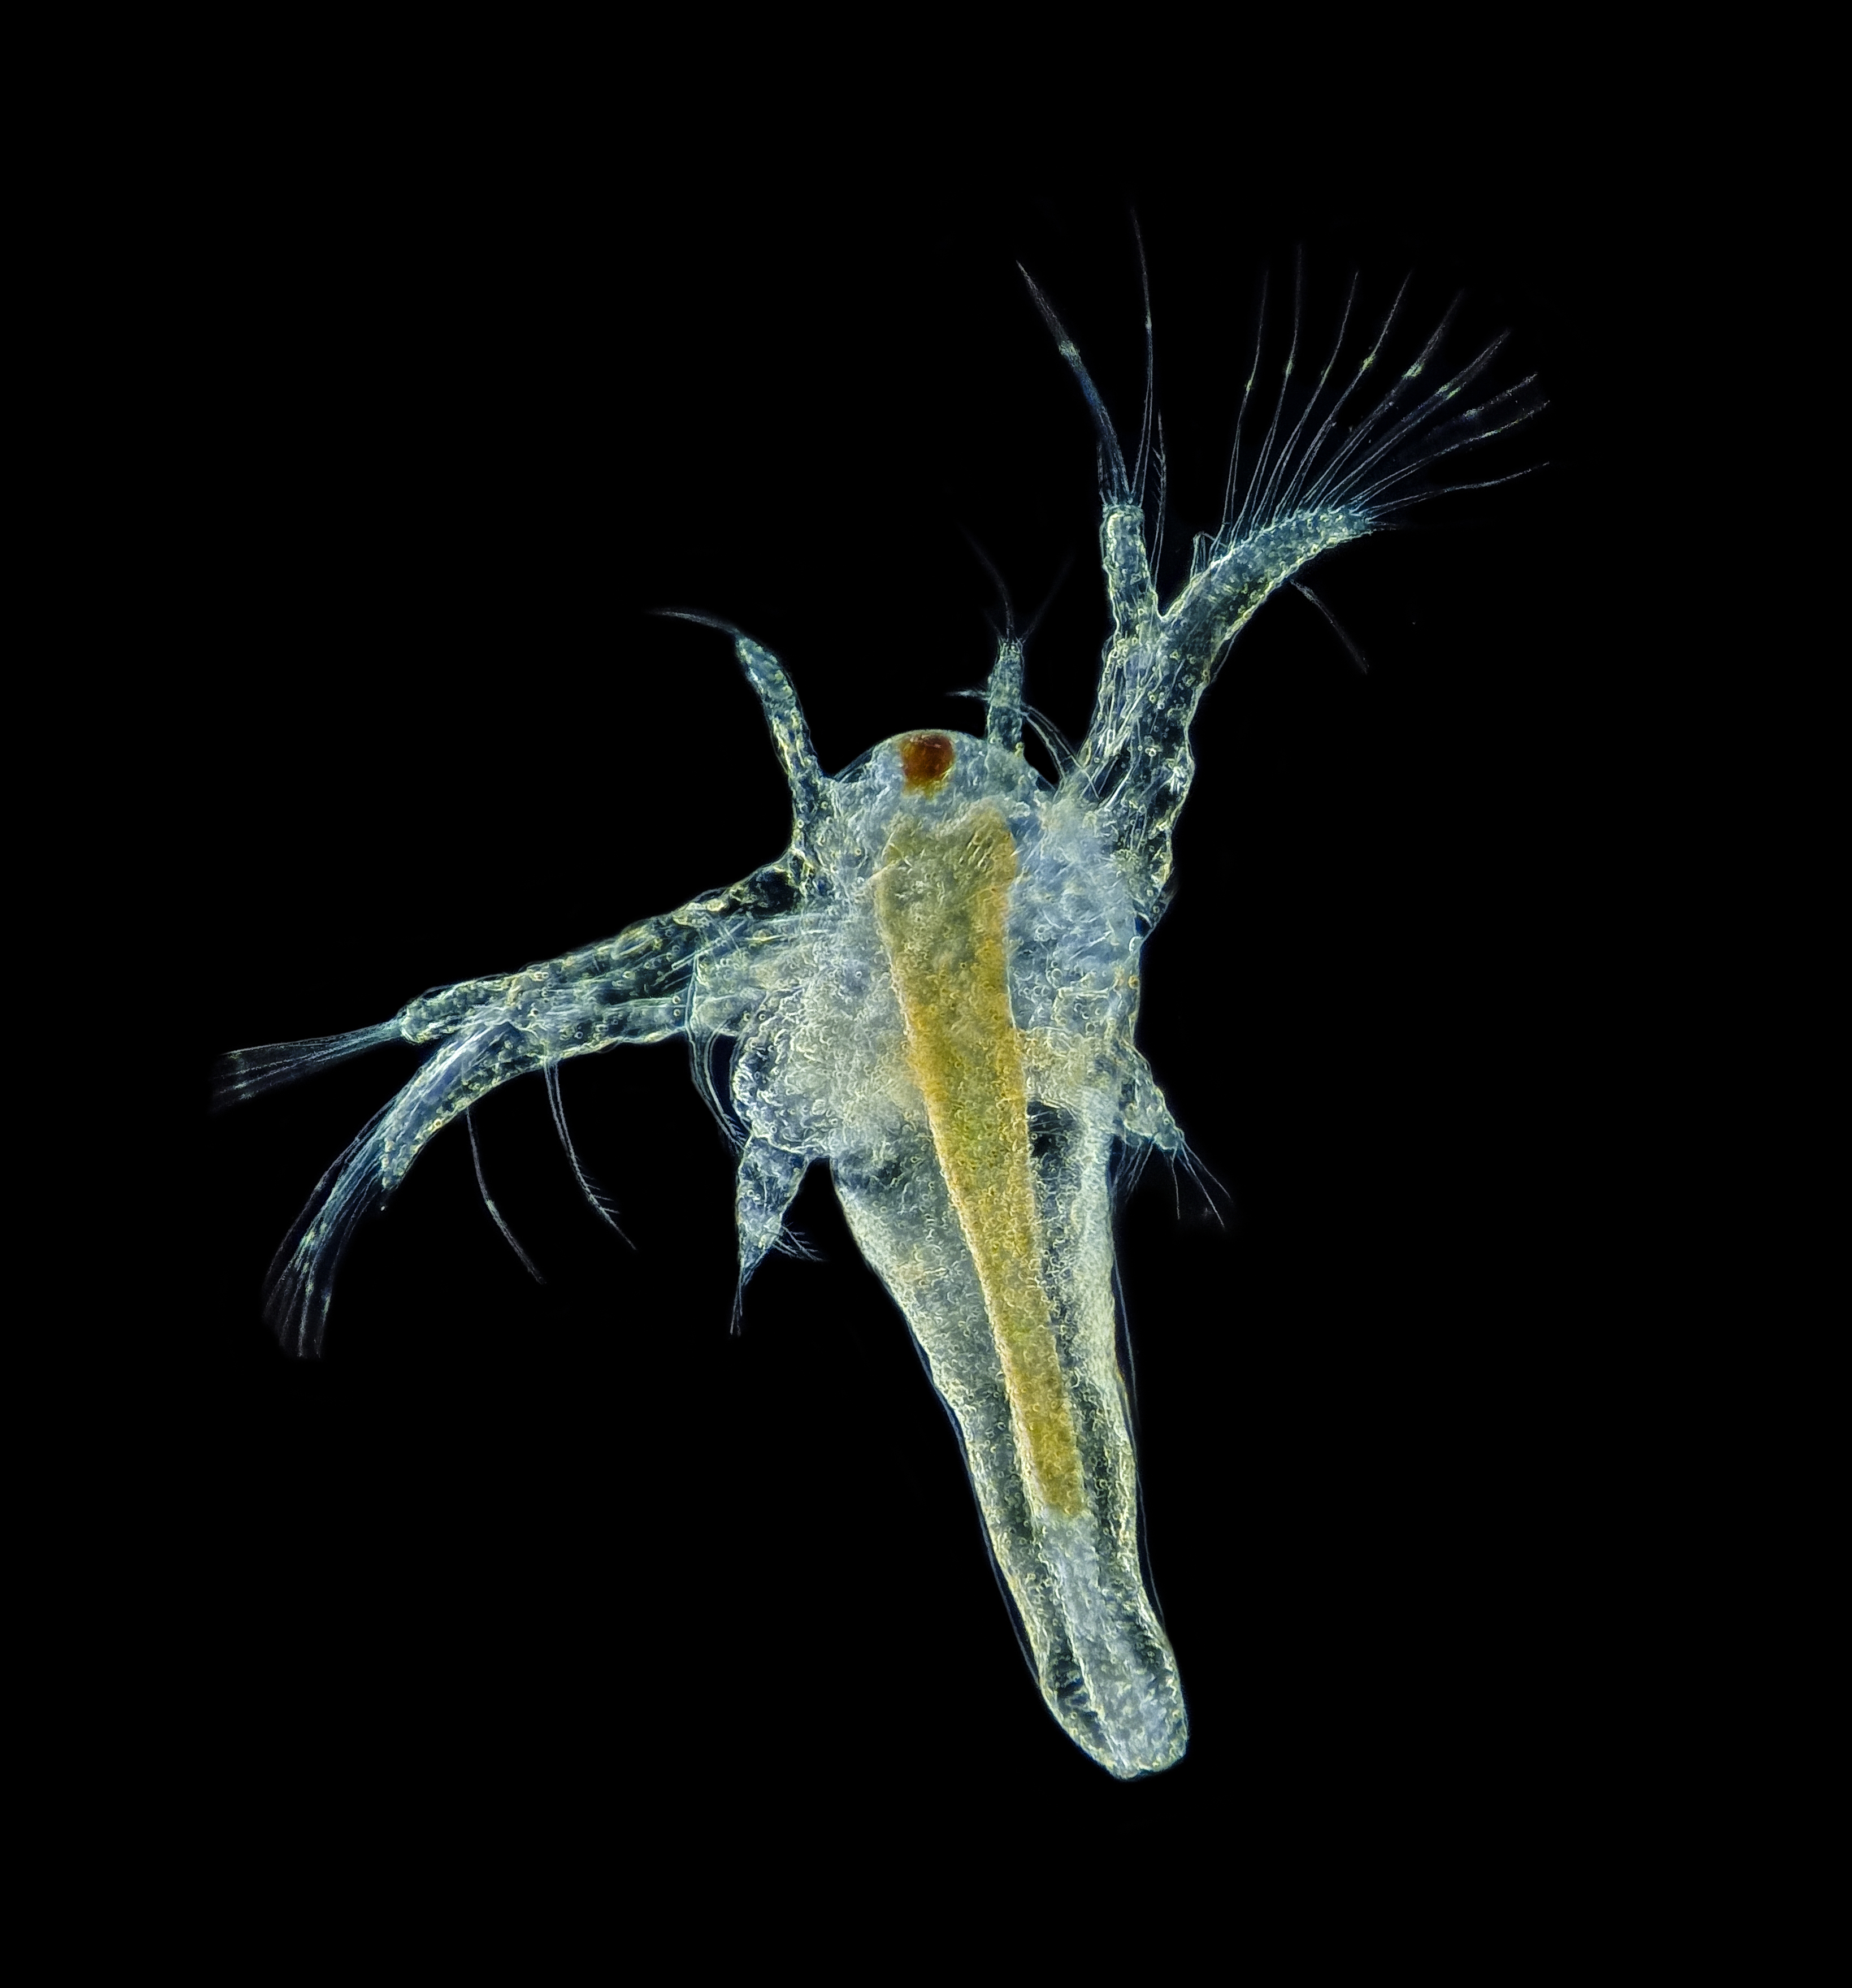
The first time a batch of shell-dweller fry appeared over the sand in one of my tanks, I did what a lot of people do and reached for crushed flake. The fry ate it and survived. Then I tried baby brine shrimp on the next brood, and the difference was obvious within a week: fatter little bodies, faster growth, and far fewer that simply faded away. Baby brine shrimp, or newly hatched Artemia, is the single most useful thing I have added to raising fry, and hatching your own is cheaper and easier than it looks.
If you want the short version: put brine shrimp eggs in warm salty water with an air pump running hard, wait about a day, and you will have a cloud of tiny orange nauplii that trigger a feeding response in almost any fry small enough to fit them in. The rest of this is how I actually do it, and the small things that make it reliable rather than hit-and-miss.
Free PDF
Free aquarium water cheat sheet (PDF)
Grab the one-page reference for your tank: target ranges for pH, hardness, ammonia, nitrite and nitrate, plus a plain walkthrough of the nitrogen cycle. No fluff, unsubscribe any time.
Free, unsubscribe any time. The download starts as soon as you sign up.
Why baby brine shrimp beats dry food for fry
Newly hatched brine shrimp wriggle. That movement is what makes fry chase and strike, and a fry that is hunting eats far more than one picking at flake dust settling on the sand. The nutrition is genuinely good too: a fresh nauplius is roughly half protein, and for the first half day of its life it still carries its yolk sac, so it is basically a self-delivering packet of fat and protein swimming into the fry’s mouth.
There is a visible sign it is working. Feed a tank of fry a good dose and their little bellies turn bright orange within minutes. That orange stripe is how I judge whether a brood is feeding properly. No orange after a couple of feeds and something is wrong, usually that the fry are still too small for even the baby shrimp, in which case I fall back to a powdered fry food for a few more days.
This matters most for cichlid fry, including the Tanganyikan shellies the site is built around. Livebearer fry (guppies, platies, mollies) are born large and will take crushed flake straight away, but they still grow faster and colour up better on live food in the first fortnight. You can read more on the livebearer side in my guide to breeding livebearers, and on the shellie side in keeping shell-dwelling cichlids.
What you need
None of this has to be expensive. My rig is a cut-down 2 litre fizzy drink bottle held upside down in a wooden stand I made from an offcut, but a dedicated hatchery cone works the same way.
- Brine shrimp cysts (the dried eggs). Hatch rate matters far more than price; a fresher tin from a busy shop beats an old one that has sat on a shelf. Keep the tin in the fridge or freezer once opened.
- Salt. Marine salt is ideal because it gives the right chemistry, but plain non-iodised salt works fine for hatching, since you are not keeping the shrimp alive long term. Avoid table salt with anti-caking agents if you can.
- A hatching vessel. A bottle, jar or purpose-made cone. A cone or upturned bottle is better than a jar because there are no corners for eggs to settle in.
- An air pump and a length of airline. No airstone. You want a coarse, rolling boil of bubbles that keeps every egg moving, not a fine mist.
- Warmth and light. A spot around 25 to 28°C and a lamp left on over the vessel. Warmth speeds the hatch; light helps trigger it and then helps you harvest.
The book behind Lagonia
The Hard Water Aquarium
My practical guide to working with hard, alkaline tap water instead of fighting it: reading your water, choosing and setting up the tank, and keeping and breeding the fish that thrive in it, from livebearers to Rift Lake cichlids and shell-dwellers.
Ad · Amazon affiliate links. I earn a small commission on a purchase, at no extra cost to you.
The method I use
Here is the recipe that hatches reliably for me, scaled to one litre. Halve it for a small batch.
- Mix the brine. Dissolve roughly one and a half tablespoons of salt into a litre of dechlorinated water. That lands near the 25 grams per litre that Artemia hatch best in. Exact numbers are a guide, not a law; anywhere in that region works.
- Warm it. Aim for 26 to 28°C. At that temperature you get a good hatch in about 24 hours. Cooler, say 21°C, and you may wait up to 36 hours for the same result.
- Add the eggs. About half a level teaspoon of cysts per litre is plenty. More eggs does not mean more usable shrimp; it just means more waste and a dirtier harvest.
- Run the air hard. Drop the bare airline in so the whole lot rolls over constantly. Eggs that settle and sit still do not hatch.
- Light it and wait. Leave a lamp on and come back in a day. You will see the water take on an orange haze and, once the air is off, a moving cloud rather than static specks.
Harvesting without scooping up the shells
This is the step people find fiddly, and it comes down to a light and a bit of patience. Turn the air pump off and wait five to ten minutes. The empty shells float to the top, the unhatched eggs sink, and the live nauplii gather in the middle, drawn towards light. If you shade the top of the vessel and shine a torch at the lower side, the shrimp swim into a dense orange band you can then draw off with a length of airline like a mini siphon.
Do not tip the whole lot into your fry tank. You want the shrimp, not the salt or the sharp empty shells. I siphon the orange band into a fine brine shrimp net or a paper coffee filter, then rinse it under the cold tap for a few seconds before tapping the shrimp into the tank. Rinsing matters: it drops the salt and removes the shell debris that can otherwise get eaten and cause trouble.
When to feed them, and how much
Feed them young. A nauplius is at its most nutritious in the first twelve hours after hatching, while it still has that yolk sac, and the food value falls away fast after the first day as they use up their reserves and start moulting. I try to harvest and feed within that first morning.
For fry I feed small amounts two or three times a day rather than one big dump. Watch the bellies turn orange, then stop. Uneaten brine shrimp die in freshwater within hours and rotting shrimp will foul a small fry tank quickly, so restraint here is the same discipline as with any fish feeding: little and often, nothing left sitting. In a bare-bottom fry tank leftovers are at least easy to siphon out during a water change.
The practical trick that keeps a supply going is a rolling rotation. I run two bottles a day apart, so as one hatch is being used up the next is ready. Start a fresh bottle every morning and you always have day-old shrimp on hand for as long as the fry need them, which for shellies is usually the first three or four weeks before they move onto finely crushed flake and, later, the same food as the adults.
Why hard water makes this easier
Brine shrimp are creatures of hard, salty, alkaline water; that is their whole world. If your tap is soft you sometimes have to nudge the pH up for a good hatch. My tap runs around 22 dGH and pH 7.2 straight from the mains, which is exactly the kind of hard, mineral-rich base Artemia are happy in, so I rarely have to think about it. One less thing to fiddle with.
The salt is a fair worry for freshwater keepers, but in practice it is a non-issue. The rinse removes almost all of it, and the tiny amount of carryover from a feed is nothing against the volume of a tank. For Rift Lake cichlids in particular, who already sit in hard, buffered water, a trace of salt is closer to home than a problem. If you want to understand that water chemistry side, I go into it in do Rift Lake cichlids need a buffer. If you are setting up a small grow-out tank for a brood, my volume calculator will give you an honest litre figure to dose and stock from.
The mistakes worth skipping
I have made all of these so you do not have to. I have overdosed the eggs and ended up with a filthy harvest of half-hatched mush. I have let a hatch go two days and wondered why the fry were not colouring up, when the answer was that the shrimp had already spent their yolk. I have poured a whole unrinsed batch into a tank and watched empty shells collect in the corners. And early on I bought the cheapest, oldest tin of cysts I could find and got a miserable hatch rate for my trouble.
Get those few things right, a fresh tin, the right salinity and warmth, hard bubbling, an early rinse and feed, and hatching baby brine shrimp becomes a two-minute morning habit rather than a chore. It is the closest thing I have found to a guaranteed upgrade in raising strong, fast-growing fry.
Cover image: “Artemia salina” by Brandon Antonio Segura Torres and Priscilla Vieto Bonilla, licensed CC BY-SA 4.0, via Wikimedia Commons.